Grey image
These images represent a photometry image painted with a grey scale. Normally they are normalized to produce higger contrast.
Operation files
The aim of these images is to study structures and positions of photometric images. However, they are usually used to produce beautiful astronomical images.
First write the name of the fits image in the xxx entry and…
To create a grey image is not neccessary to create any list, only put AstroCanvas in grey images mode and write the name of image in the grey image entry. You can also select an area of the image writing the limits in the Crop image entries.
Creation of grey images
The images are normalized from 0 to 1 and mixed, You could select the contrast and the intensity moving their respective scalebars. In addition, you could select the scale of the image between linear and logaritmic.
To obtain the grey image, press the make grey image button and, after the processing, the grey image appears in the canvas.
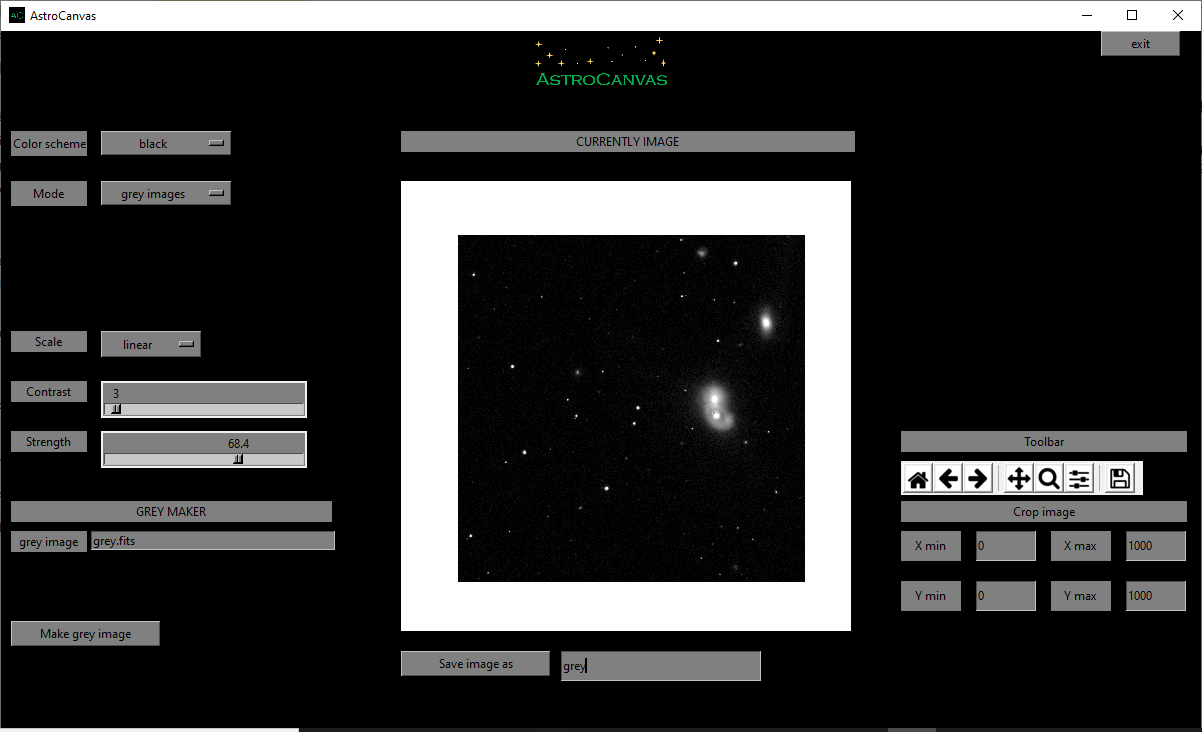
fig. 9 screenshot of Astrocanvas in grey images mode plotting a grey image from one science image.
When you make a grey image, the terminal shows some information, the average, the standard deviation, the maximun value and the minimun value of the image pixels and also its size, an example is shown below.
Grey image
------------
average= ( 0.00036442987 )
standard deviation= ( 0.0046062768 )
max= ( 1.0 )
min= ( -0.0019790286 )
size= 1000 X 1000
Finally, you can save the grey image writing a name and clicking on the Save image as button (the image will be saved in png format).